

Welcome and Happy Spring
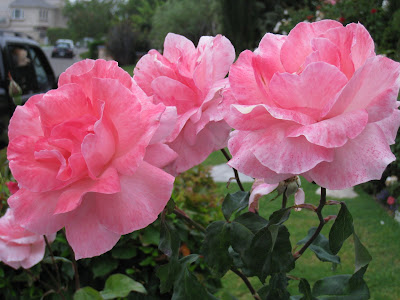
Recently I received a number of e-mails and comments asking me to blog about easy stenciling and painting projects. Since I am not very good at stenciling I asked my sister, Leslie, if she would give us a simple lesson in stenciling. Leslie, lives in Florida and is a flea-market and fabulous finds extraordinaire and is also an artist. She paints on furniture in a whimsical style similar to Victoria MacKenzie- Child. We are both inspired by the simple beauty of God's creations and the colors of Mother Nature - especially the colors of flowers.


Bentley, my studio assistant, waiting to leave our garden to look for Leslie's inspiraiton.
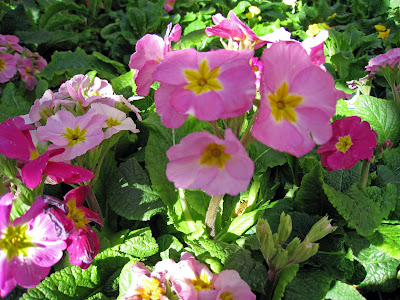
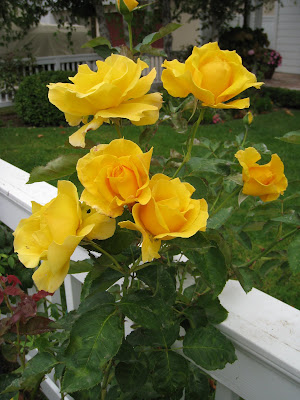
There . . .

Everywhere . . . . .
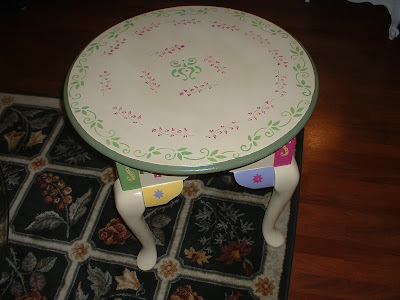 She stenciled a floral design on the top.
Sometimes she likes to paint furniture in richer and deeper colors:

Deep fuchsias

Purples

Golds
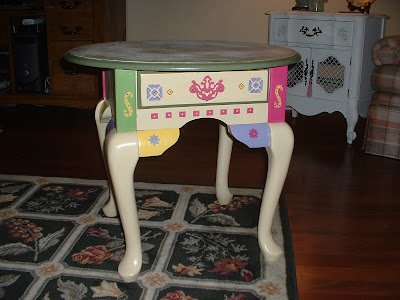
 A thrift shop table picked up for under $5.00
Let's get started. Leslie is going to paint and stencil a $10.00 chest she purchased at a garage sale.
The first step in painting furniture is to remove hardware, drawers, doors etc. Lightly sand and wipe down with a clean cloth -next base coat with a good quality primer - such as Kilz or Zinzer 1-2-3. If you want to add appliques do so at this time.

After priming -paint with paint of your choice - she used an off white enamel for the drawer and accents (left over paint trim from her house) and also uses latex indoor house paint. Then she painted the rest of the chest with lavender latex paint.
Now for the fun part - the stenciling. The side and was stenciled with a stencil that came as three different patterns all on the same stencil. Tape the entire stencil with painters tape. TIPS - always tape the stencil down - this will prevent running and keep your design neat - apply a very small amount of paint to your brush and lightly dab the brush over the stencil. Too much paint on the brush causes blotchy designs. Remember - stenciling is a "dry brush" technique. It is best to build up your color gradually.
Hold the stencil down as you brush to prevent paint from getting under stencil. Take the stencil off as soon as you finish painting. Joannes and Michael's sell stencils like this by Plaid and they are easy to use because they are big.

For corners, you can cut a large stencil with three patterns, and use one of the patterns on the corner and the other patterns on top and in the middle. This way you can have three different patterns from one stencil and you can stencil the corner with ease as you will have a smaller stencil to work with. The diamond pattern on the drawer was made by using a small stencil with a diamond pattern - if the stencil is too big simply cut around the diamond and make a smaller stencil.
The last step is to seal the entire project with a sealer to make sure the paint does not rub off.
I think it is time for me to pass the "Fabulous Finds" Award on to Leslie. She believes that flawed is fabulous and it is a lot more fun to turn someone else's timeworn furniture into something beautiful than to buy something new and perfect. You can read more about the "Fabulous Finds Award on one of my previous blog post.


You will have the outline of the stenciled object on your canvas. This is a good way for beginners to have a completed drawing on canvas. Next you can follow the outline of the stencil and enhance it with your paints to create your own work of art. Tip for beginners - you can use the stencil to learn about the shapes and form of roses or other flowers and this will help you get the confidence to draw your own flowers. After stenciling a few times, try and sketch your flowers free hand to create your very own work of art. Samples of little works of art created using a stencil to give you an idea of how to create your own. Happy stenciling! Leslie and Erin
Thank you for visiting my blog. I love to hear from you and really appreciate you taking the time to leave me a comment and to visit my blog. If you have any questions or would like to see me paint something special, please leave me a comment or send me an e-mail. Blessings, Erin
No comments:
Post a Comment